
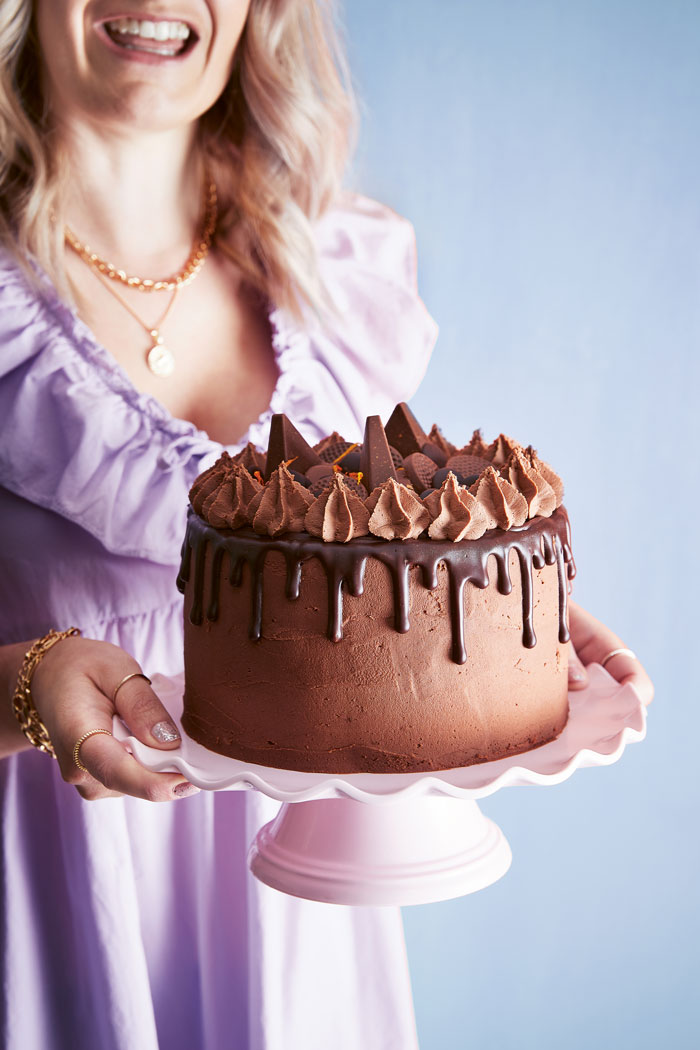
This Chocolate Orange Drip Cake from Becky Excell’s new book How to Bake Anything Gluten-Free is a showstopping party must-have!
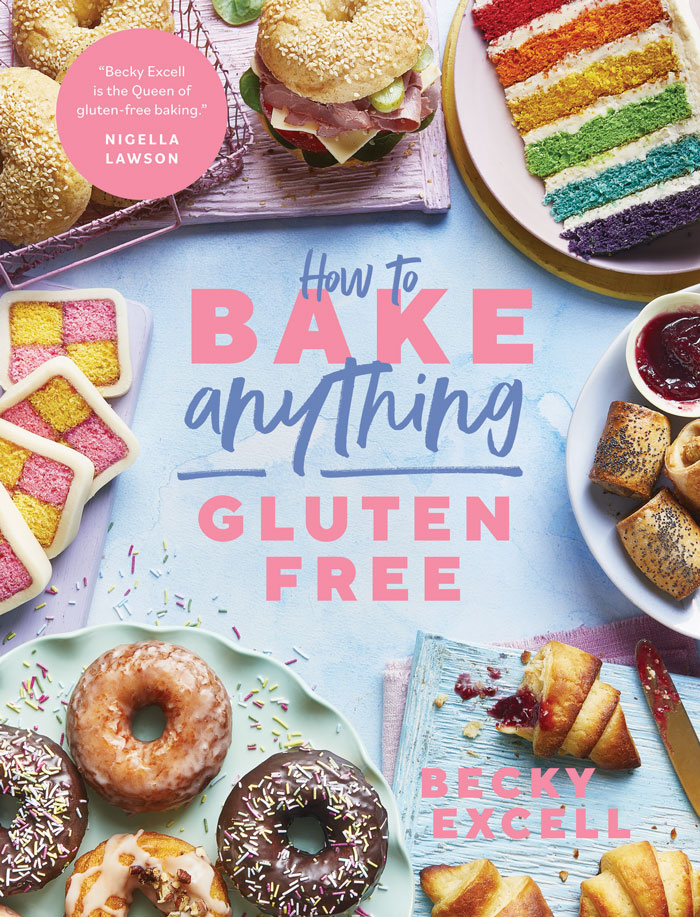
Recipes taken from How To Bake Anything Gluten Free by Becky Excell (Quadrille, £20), photography by Hannah Rose Hughes.
“For special occasions, I always whip out my chocolate orange drip cake and each time I do, I’m still in slight disbelief that I was able to make and decorate it all by myself. And trust me, if I can do it, then you definitely can too! Chocolate orange flavour runs through every aspect of this cake, and the finish will have muggles eyeing it up without a doubt.”

Chocolate Orange Drip Cake
perfect Party showstopper with delicious chaocolate and a hint of orange
Ingredients
- 340 g butter softened, plus extra for greasing
- 340 g caster sugar
- 6 large free-range eggs
- 4 tsp orange extract
- 285 g gluten-free self-raising flour
- 1/4 tsp gluten-free baking powder
- 1/2 tsp xanthan gum
- 50 g unsweetened cocoa powder sifted
For the buttercream
- 300 g dark chocolate broken into pieces
- 500 g butter softened
- 1 kg icing sugar sifted
- 3 tsp orange extract
- 1-3 tsp milk if needed
For the chocolate orange drip
- 80 g dark or milk chocolate broken into pieces
- 80 ml double cream
- 1/2 tsp orange extract optional
To finish
- 1 orange finely pared zest
- any chocolate orange-flavoured chocolate bars optional
Instructions
-
Preheat the oven to 180°C /Gas Mark 4. Grease three 20cm (8in) round cake tins (pans) and line with non-stick baking parchment.
-
In a large mixing bowl, cream together the butter and sugar until light and fluffy (I prefer to use an electric hand whisk or a stand mixer for this). Add your eggs one at a time, mixing between each addition, then mix in your orange extract. Add your flour, baking powder, xanthan gum and cocoa powder. Mix for a final time until well combined.
-
Divide the mixture evenly between the three tins and bake in the oven for 25–30 minutes until risen and cooked through – check by poking a skewer into the middle; if it comes out clean, then they’re done. Leave the sponges in their tins for about 5 minutes before turning them out onto a wire rack to cool completely.
-
Once cooled, use a cake leveller (or sharp knife) to trim the risen top of each sponge to create a perfectly level top. Ensure that you don’t tear through the cake as you do this.
-
Next, make your buttercream. I use a stand mixer for this, but an electric hand whisk will do the job just fine too. I wouldn’t recommend doing this by hand as it’s a large amount of buttercream... however, it is possible!
-
Firstly, melt your dark chocolate(I do this in the microwave, mixing in between short bursts until melted), then put to one side and allow to cool slightly. Place your butter in the bowl of a stand mixer and mix on a medium speed for about 5 minutes until the butter is fluffy and paler in colour.
-
Add your icing sugar in two or three stages, beating for about 3 minutes between each addition. Start your mixer slowly (to avoid creating a mini icing sugar explosion) but then increase the speed to medium-high for each of your 3-minute mixing intervals. Add in your slightly cooled, melted chocolate and the orange extract. Mix until fully combined. If the icing seems too thick, just add a little milk (dairy-free or lactose-free if necessary) to loosen it up.
-
To assemble your cake, place the first sponge on a flat serving plate and spread an even layer of buttercream on top, then add your second sponge on top of that. Spread some buttercream on top of that sponge and finish by placing your final sponge on top (flat-side up).
-
Next, apply a crumb coat to the entire cake: this will help to achieve a super-smooth finish to the icing, which is vital for a drip cake. It basically involves applying an extremely thin coating of buttercream, so use a small, cranked palette knife to do exactly that. You should be able to see all of the sponges through the crumb coat.
-
You should now have a ‘naked’ finish to your cake. Place the cake in the fridge for 30–60 minutes for the crumb coat to set. Cover the remaining buttercream to stop it from drying out.
-
Now it’s time to ice your cake for real. Use a large palette knife to apply a 5mm (1⁄4in) coating of buttercream to the entire cake, so that it’s completely covered and pretty ‘rustic’ looking.
-
To smooth over the sides, simply touch the icing with your cake scraper and rotate the cake stand/ serving plate until you achieve a smooth finish – an icing turntable comes in handy here but isn’t essential. For the top of the cake, smooth the buttercream inwards towards the middle of your cake with your cake scraper to create nice, sharp edges and a smooth top.
-
To make the chocolate orange drip, place your chocolate and cream into a microwavable bowl and heat for about 20 seconds, then mix. Return to the microwave and continue to blast for 10-second intervals, mixing in between, until the mixture is smooth and completely melted. If using, stir in your orange extract.
-
Put your chocolate drip mixture into a piping bag and snip the end off, leaving a 3mm (1⁄8in) hole. Pipe the drip around the very edge of the cake slowly and carefully, encouraging it over the edge every 1cm (1⁄2in) or so. Squeeze out differing amounts as you go so that the drips vary in length.
-
Once the drips are all done, fit a piping bag with a large open star nozzle and fill with the remaining buttercream, then pipe a ring around the top of the cake. Finish with a little orange zest and, optionally, any gluten-free chocolate orange bars you can get your hands on.
-
TIP: If you remove all the orange extract, you’ve got a chocolate drip cake.If you replace it with mint extract, you’ve got a mint chocolate drip cake. Then simply top with gluten- free chocolate that complements your flavours. Use this wisdom as you will!